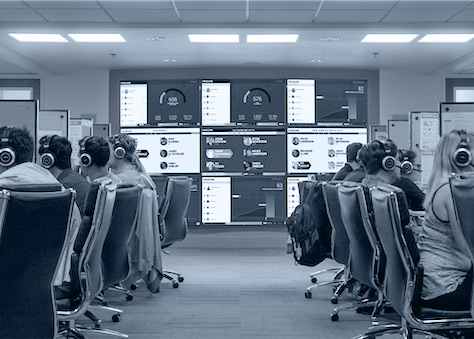
It started with one TV dashboard screen, then two, next the sales and finance departments wanted their own dashboard screens...
Now you're trying to manage 12 screens rotating through 35 dashboards across 4 departments on 2 different floors.
Now it's getting tricky.
The dashboard machine just rebooted because of automatic patching, although the keyboard & mouse has gone missing again and the browser didn't restart so we just see desktop wallpaper. Sound familiar?
Yup, we've been there...
Here's a scenario
James has 4 wall mounted TV screens.
- On screen one, he wants to cycle through 3 sales Microsoft Power BI dashboards at an interval of 30 seconds each.
- On screen two, he wants 5 Solarwinds IT Operations dashboards cycling at a minute each.
- On screen three, two finance reports at 20 seconds each.
- On screen four, a rotation with all the latest industry news at different intervals.
This machine is automatically patched every Wednesday and these rotations need to restart after reboot.
James has also heard that the team on the west coast has been looking to create a similar screen wall and he's been asked to set it up for them. He needs to find a way to do this and be able to manage it from the other side of the country.
The solution
So, how do we make this happen in a way that doesn't make you want to pull your hair out every Monday morning?
We can accomplish this using VuePilot which supports multiscreen configuration so you can connect as many screens as you wish to the one machine and remotely manage them all from the comfort of your desk. Let's run through it.
Step 1. Install VuePilot
If you haven't already, install and activate VuePilot on your machine. You can follow the steps found at How To Remotely Manage Office Dashboard Screens to help get you started.
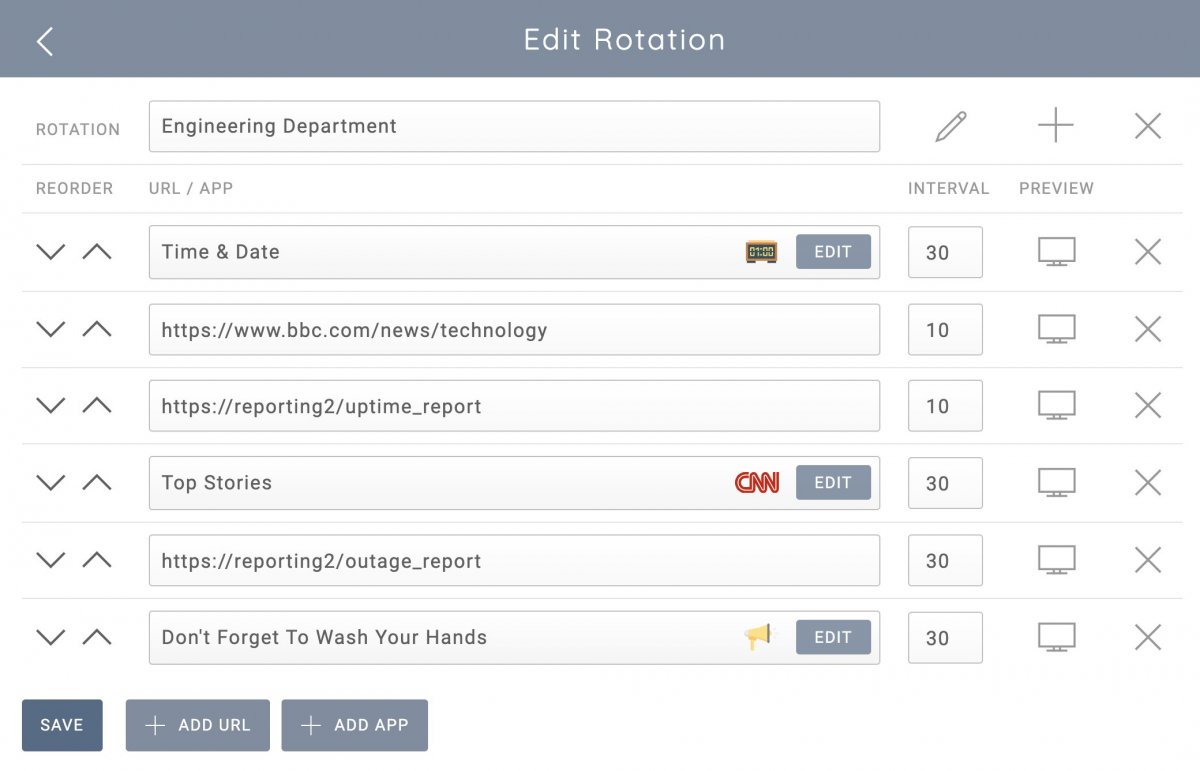
Step 2. Create rotations to display
From the dashboard or the VuePilot software you will find a “Rotations” section which allows you to create a playlist of the web pages and apps you wish to cycle through. Simply create a rotation, add the relevant URLs to your dashboards or web pages and give each one an interval which sets how long you wish the page to be displayed on screen for.
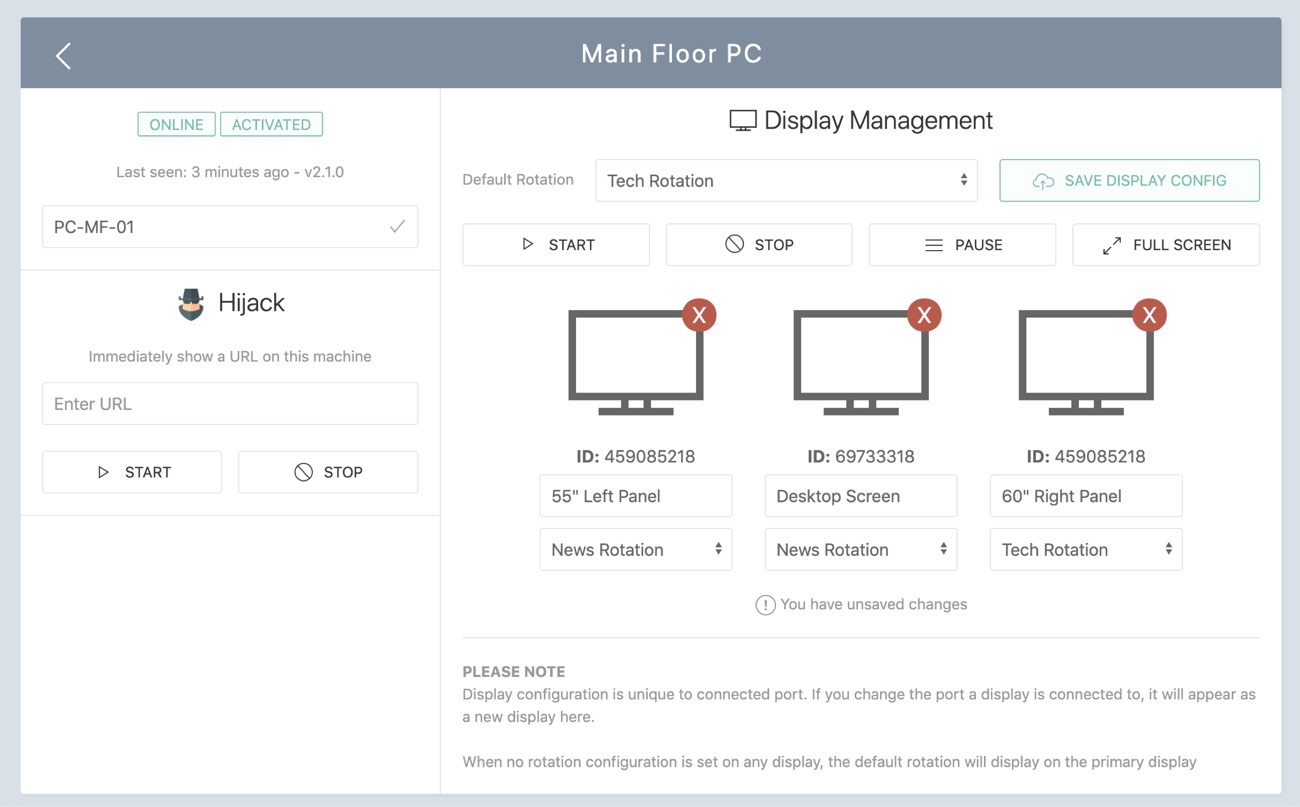
Step 3. Setup your display configuration
Open up either the VuePilot dashboard display management panel or the display management panel directly on the VuePilot software on your dashboard machine.
We can manage the connected displays from either. You should see screen icons representing your connected displays.
If you haven't already created a rotation (which is a listing of web pages essentially), go and create a rotation containing your dashboard URLs first from the rotations panel (see step 2 here).
Select a rotation for each display from the drop down menus.
You can provide a description for the display if this helps you remember which one is which. Click “SAVE DISPLAY CONFIG” when done, this will save the changes to the database and push out the updated config to your connected machine.
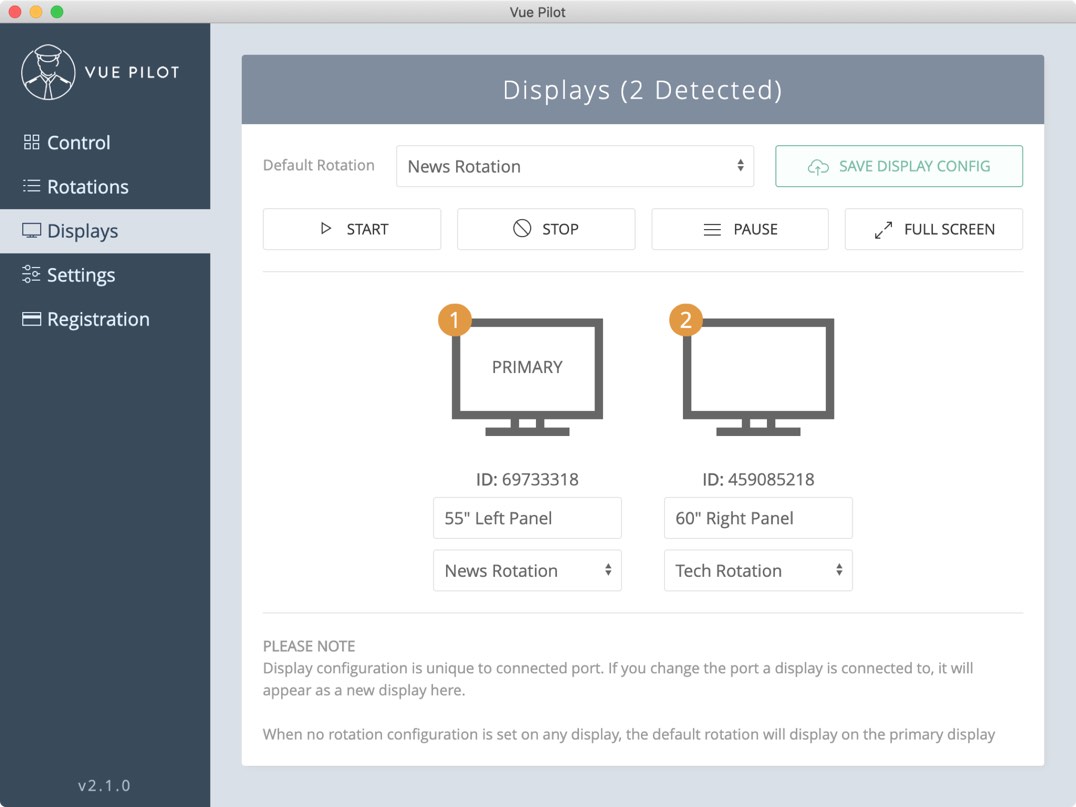
Or from the VuePilot software on your dashboard machine.
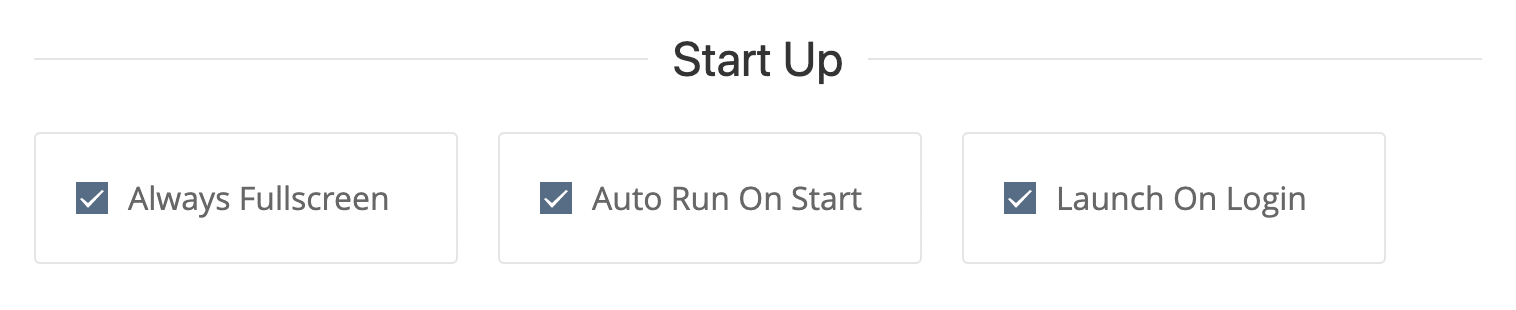
Step 4. Configure automatic rotation start
We want to ensure that our rotation will start when the machine reboots and logs in so we don't have to manually start the software each time we restart the machine.
Simply enable Auto Run On Start and Launch On Login from the settings panel. These two settings will ensure the software starts when the machine logs in, and the rotation starts when the software opens.
Step 5. Start, stop, pause & hijack screens
So now we're connected and ready to go. We can of course always control the dashboard rotation from the software running on the machine, but what can we do remotely?
Start the rotation on the machine by simply clicking the start button.
Want to pause the rotation so you can discuss a particular dashboard with your team? Simply click pause, resume the rotation cycle again by clicking start.
How about displaying some content that isn't part of any rotation? Maybe a news article or a stock chart that you want to highlight to your team?
Take over a screen using the “Hijack” functionality, simply enter the URL you wish to display and click hijack. This will display this URL in full screen over the top of your normal rotation to bring immediate attention to this content.